
Mountain Biking with a Power Meter
Posted by Nick Croken on July 4, 2023
Riding with power-meter-equipped bikes has increasingly become the norm over the last few years. Many manufacturers even include them with certain groupsets on their drop bar builds. Having ridden with power on my road bike since 2016 and gravel bikes since 2018, it’s safe to say I’m familiar with power numbers and training loads. The one bike I’ve never had a power meter on has been my mountain bike as I figured that the numbers wouldn’t really matter and I certainly wouldn’t be able to look at my head unit to see how much power I was putting out while riding. Earlier this year, I was chatting with Andrew, from 4iiii about this. 4iiii provided me with a factory-installed PRECISION 3 Powermeter on my SRAM XX1 crank. This post is not so much about the power meter as it is about the insights that I’ve gained from riding with power on my mountain bike.
4iiii is the most local cycling brand that I can think of near Edmonton as they are based out of Cochrane, only two and a half hours south of us. They are an Alberta company through and through but make no mistake, they are not small players in the game. They have been the power meter of choice for many pro teams including UCI WorldTour organizations Lotto-Dstny (men’s team), EF Education-Tibco-SVB (women’s team), and MAXXIS Factory Racing, team of 2022 Lifetime Gran Prix winner, Haley Smith.
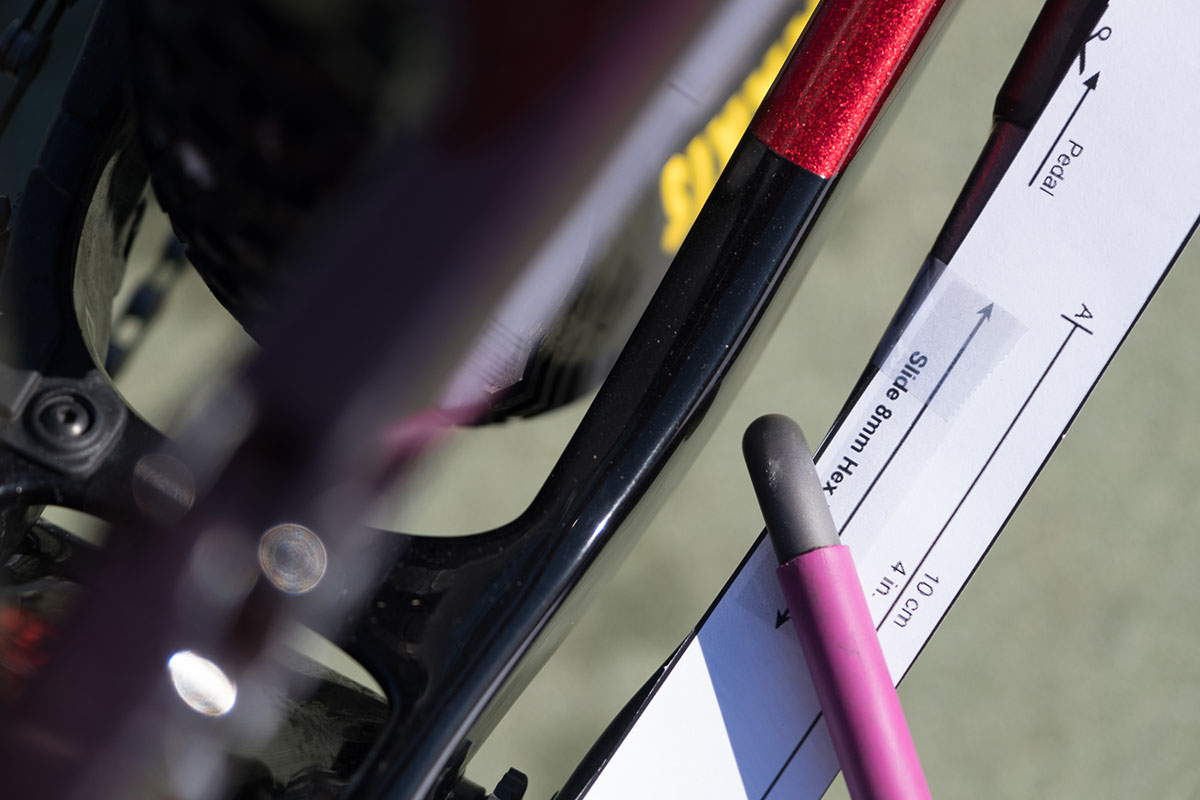
With the ability to install a power meter on most crank makes and models, this saves you the expense of buying new ones. If you’d prefer to buy a crankset with their power meter already installed, that is an option as well. As mentioned beforehand, I went with the option to have 4iiii install one of their PRECISION 3 Powermeters on my SRAM XX1 crankset on my Trek Top Fuel.

Having ridden with power for many years both in the real world on Zwift, I had expectations of the numbers that I was hoping to see on the mountain bike during efforts. You can imagine my surprise when the power of my sustained efforts was significantly lower on my hard mountain bike rides than on road and gravel rides. The trails that we have here in Edmonton consist of very sharp climbs and descents with very few sections of trails that allow you to settle into a steady pace.
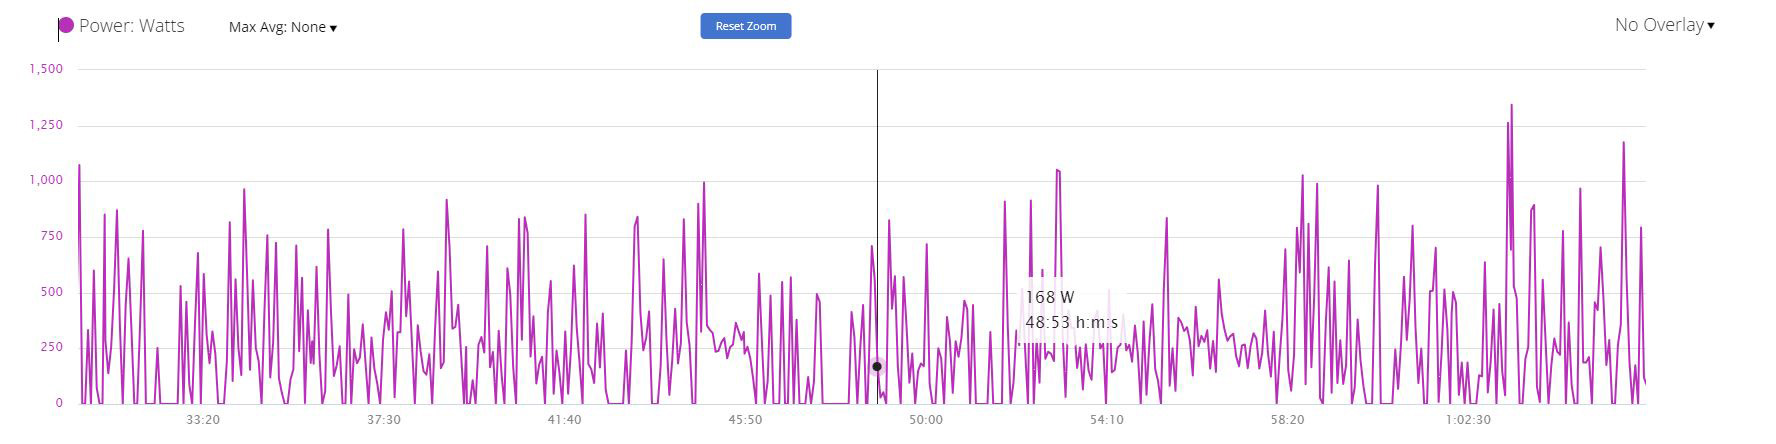
How different were the numbers? A steady effort on the road and gravel for me is around 340-350 watts so you can imagine my surprise when I did a 40-minute race pace effort on my mountain bike over various trails and my normalized power was only 310 watts. Not only was my power lower, but my heart rate was significantly higher than it would have been for the drop bar effort. The peaks of power were actually higher than I had anticipated, rivaling that of my sprints on my road bike, just much shorter. All of this data gave me an objective way to show just how hard Edmonton trails are.
Having the power numbers also gives you an idea of how much more of a full-body workout, mountain biking actually is. Power is power so when my heart rate was easily 30bpm higher on the mountain bike for the same power than on the road, you know that the rest of your body is working much harder as well. Of course, we all know that this is the case with mountain biking but it is nice to be able to quantify how much of a difference there actually is.
Another huge benefit of having a power meter on your mountain bike is that it allows you to accurately calculate your training load. Up until recently, all of my training stress scores for my mountain bike rides have been estimates which meant that it was unlikely that I was pushing hard enough or worse, not taking the appropriate recovery after certain efforts. Having an accurate picture of what your total training load looks like is very critical when you’re looking to make fitness gains, peak for a race, or are just trying to avoid burnout.
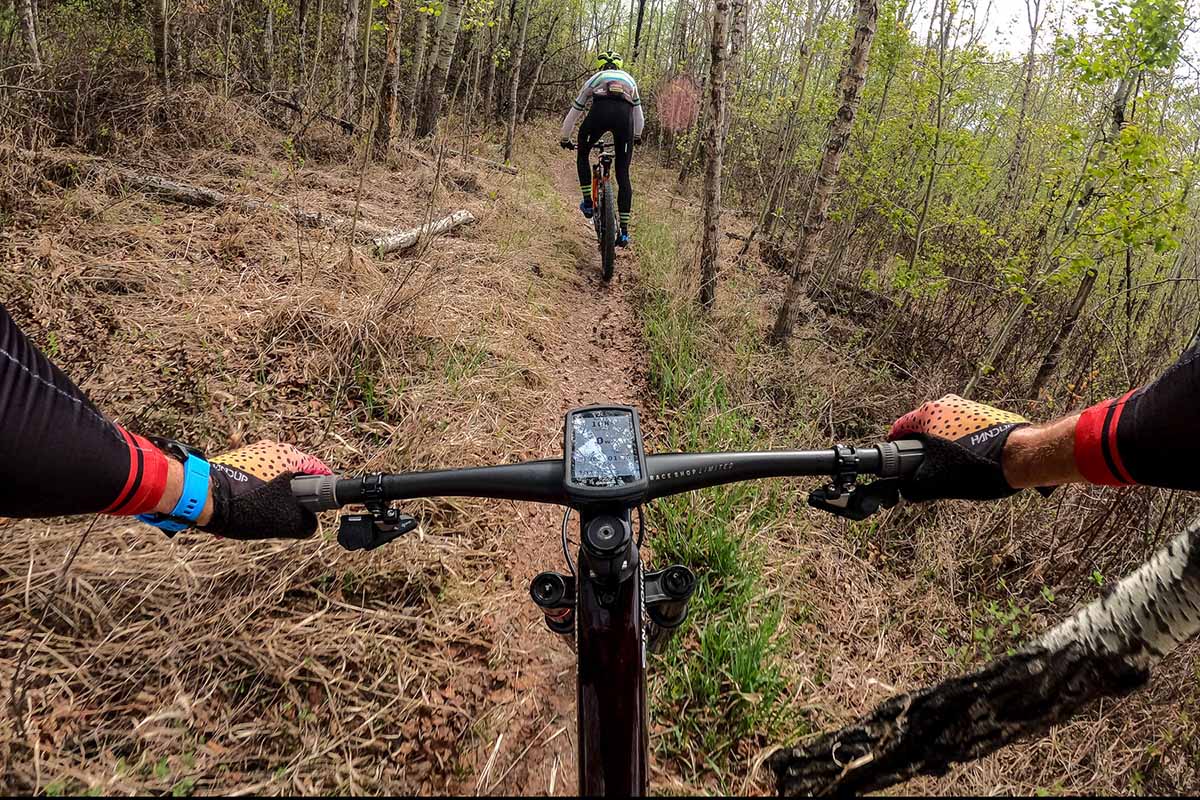
Lastly, having power data from each ride and effort allows me to look back on the areas where I need improvement. For example, here in Edmonton, most trails require no more than a few minutes of hard effort before you get some sort of mini break, such as a descent or flowy section where pedaling doesn’t offer as much of a benefit as resting does. With most mountain biking being on trails like this, I can tailor my intervals to mimic this scenario quite easily. If I were riding in Canmore or Bragg Creek, many of the trails require 20-30 minutes of sustained effort followed by long descents. Again, tailoring your efforts to the terrain you plan on riding will not only set you up for success but you won’t be hurting as much when the terrain changes.
After having spent some time with the 4iiii power meter on my Top Fuel, it’s safe to say, I won’t have another mountain bike without one. If you’re keen on maximizing your training, optimizing your recovery, or just like data, I strongly suggest you consider adding a power meter to your mountain bike. With 4iiii coming in under $400 Canadian, it’s likely one the least expensive pieces of cycling gadgetry that you’ll buy!
Read what Nick has to say and check out more of his bike blogs, photography and reviews at https://ridingtherivet.wordpress.com.

